How often have you decided to go out for a shoot with the idea of getting what presents itself? How often have you actually planned your shoot.
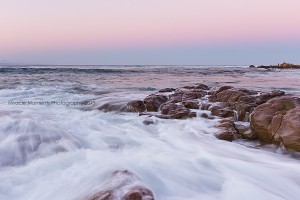
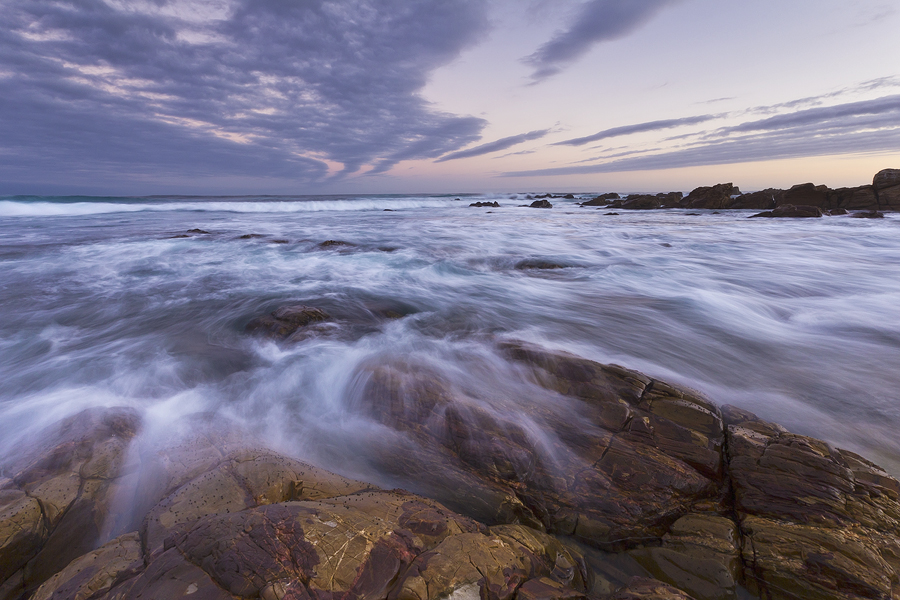
The idea behind planning a shoot is more than just thinking about where and what. Take for example a seascape. It’s not just about grabbing your gear and leaving for the rocks, water and beach. Think about what you want to get in the shot. Are you going for long exposure? Do you want some high tide wave action between the rocks? 
1. 1st hour, last hour – At the risk of sound like a broken record, plan you shoot for the golden hour. This is a no brainer…shooting landscapes at noon will just deliver flat, uninspiring images drenched with haze and harsh blown out clouds and water.
2. Scout your spot – Don’t just rock up 10 minutes before sun breaks the horizon. You won’t find a spot in time that is going to give you the image and results you want. Scampering over rocks and pools of water with your gear is also not the best way of preserving your sanity. It is also not conducive to creative thinking…in any way. Decide on a few possible spots to shoot all within walking distance. Different compositions might be required before and after sunrise to compensate for the great difference in light and contrast.
3. Check the weather – Do you want cloud cover? Do you want big sky or small sky? Cloud cover makes a big difference to your images. It creates a dynamic aspect in your images that in my opinion, brings them to life. It also makes those awesome streaky skies with misty water when using a ND filter. Cloud cover can also prolong your shooting time as it helps filter harsh sunlight.
4. Where is the water? – Check what tide you are going to have when heading out…no use in trying to get some misty water action at low tide. Often times the incoming tide or outgoing tide is the best…not excessively high and easier to judge the speed and force of the water. Soaked gear is no fun. 
5. Accessories – Make sure your accessories are packed and clean. Getting those perfectly composed shots only to find there was fatty finger smudge across the lens is just downright horrid. No way to clean up the image and no retakes. Filters must be clean, lenses and if you have the skill, your sensor as well. Otherwise have a professional clean it. Lens cloths are vital…take them with. Sea spray can mess up a shoot within the first 10 minutes if you don’t have something to clean your lens with.
6. Clean up – Salty water and seaspray are death to gear. Tripod legs become sticky with dried up mineral deposits and lens coatings and glass take a battering. Your camera body is not immune either…all the nooks and crannies can be clean out with a ear bud or soft cloth wrapped around a toothpick. Note that the toothpick option is of course for exterior cleaning only.
7. Your images – You now have a plethora of images to go through. My workflow consists of
a. opening the RAW file in CS5.
b. lens correction and straightening
c. sharpening if required
d. slight contrast/vibrance/saturation.
The reason for not doing a full edit in ACR is simply because I do blending using luminosty masks and NIK filters to adjust final contrast and details.
Lastly I will tweak the saturation levels.
Good luck with your next shoot and outing…AND…don’t get too caught up and miss those impromptu shots that present themselves.


